
Last updated September 20, 2026
Full 25-point door and opener safety check with every visit - springs, cables, rollers, tracks, and your LiftMaster or Chamberlain opener included
You get a price before we start. It does not change when the truck arrives.
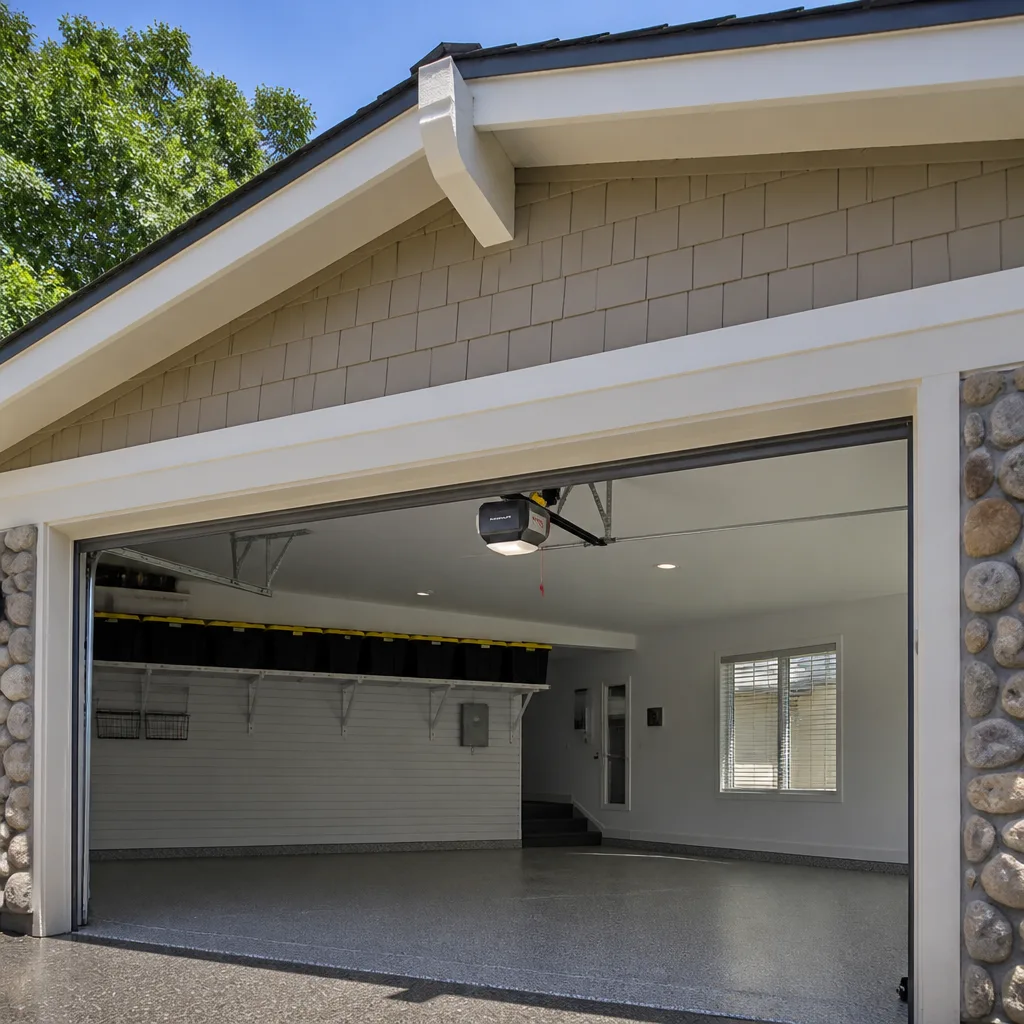
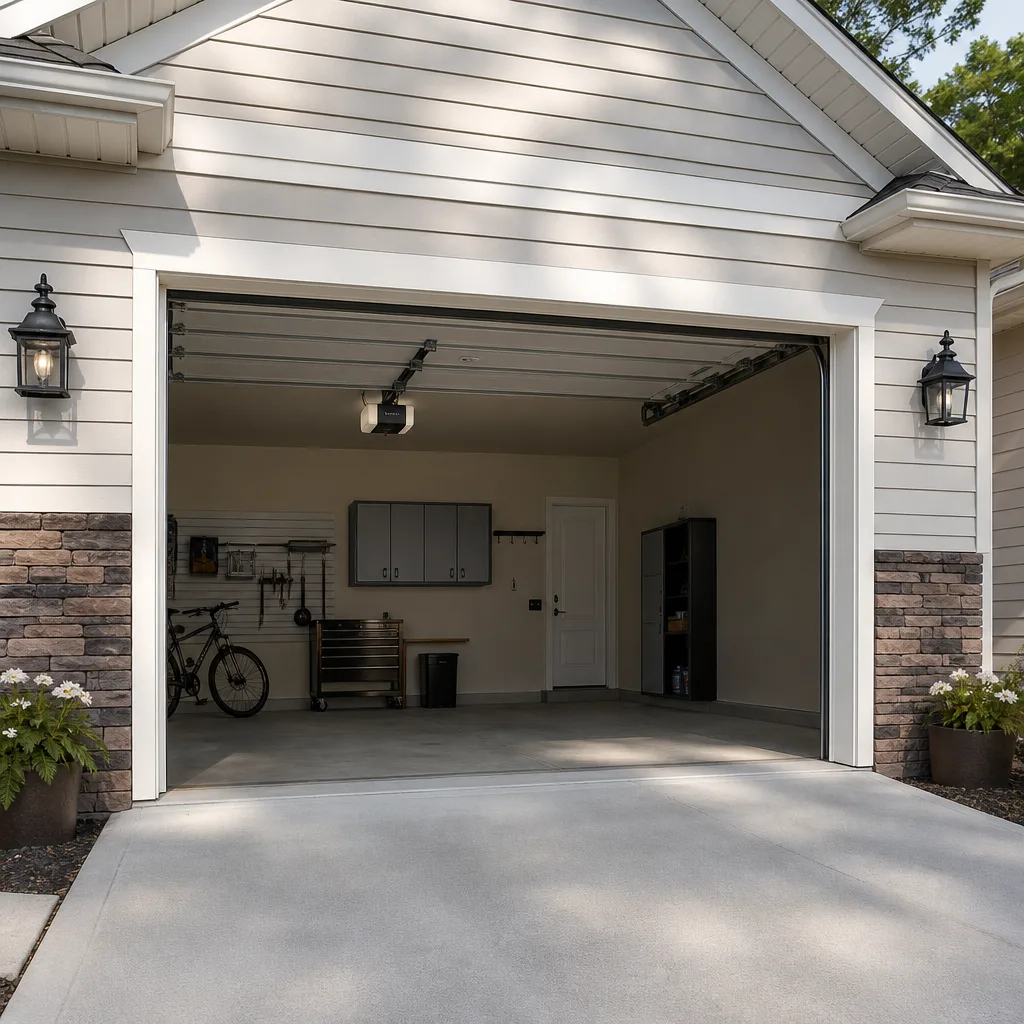
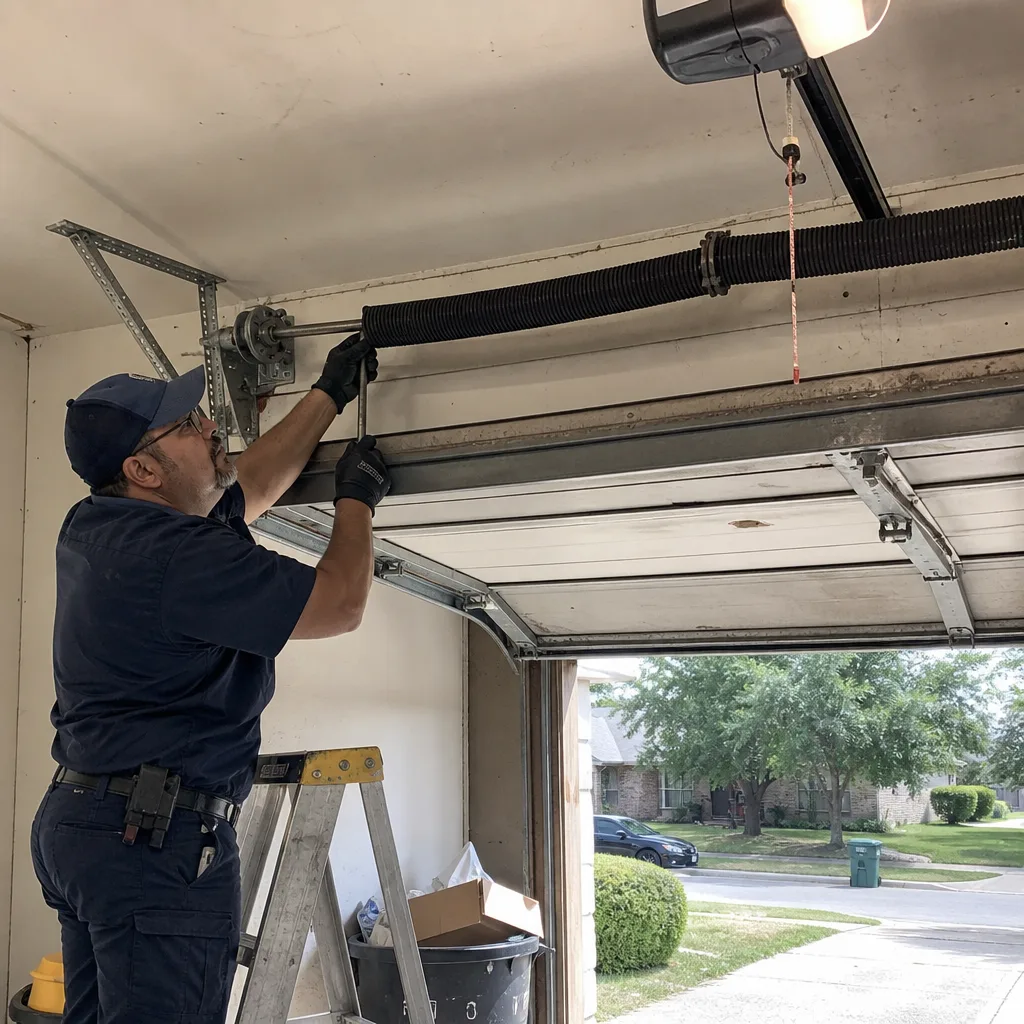 Before
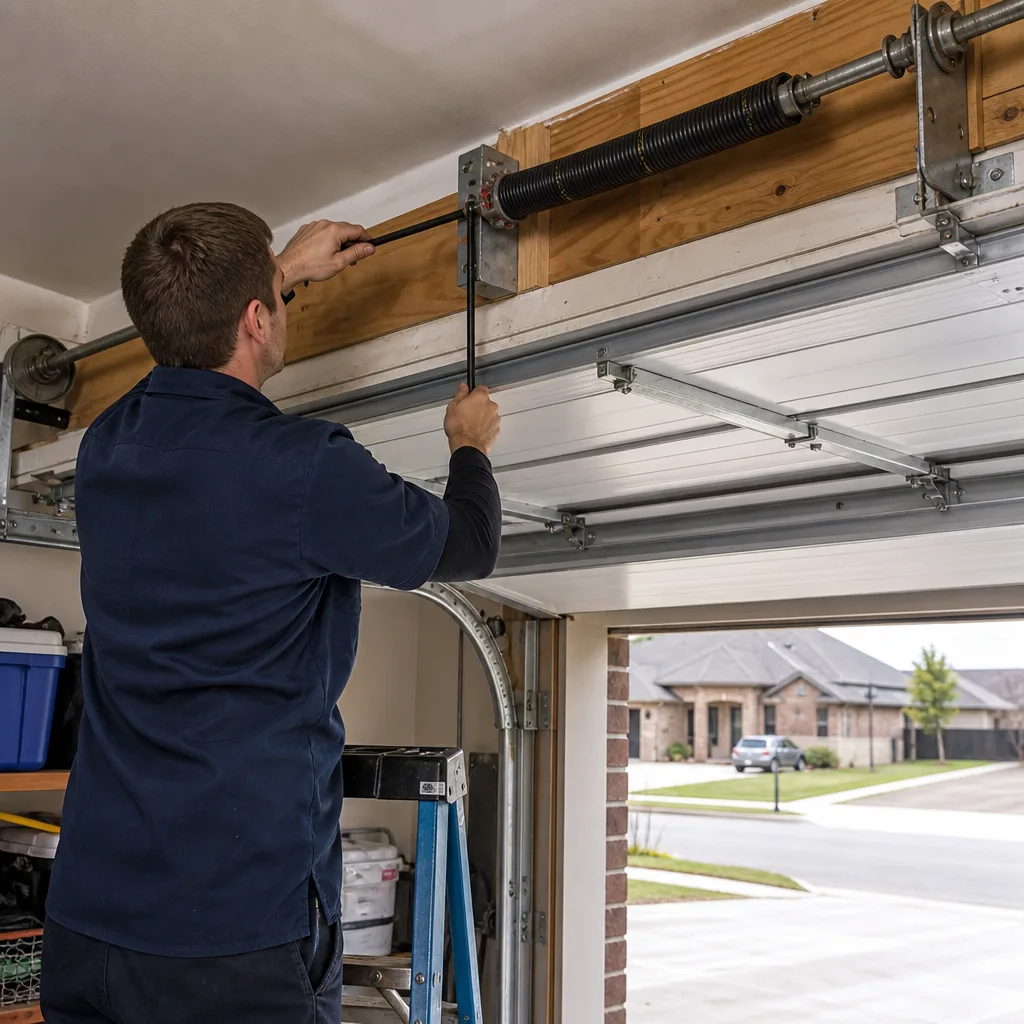 After
After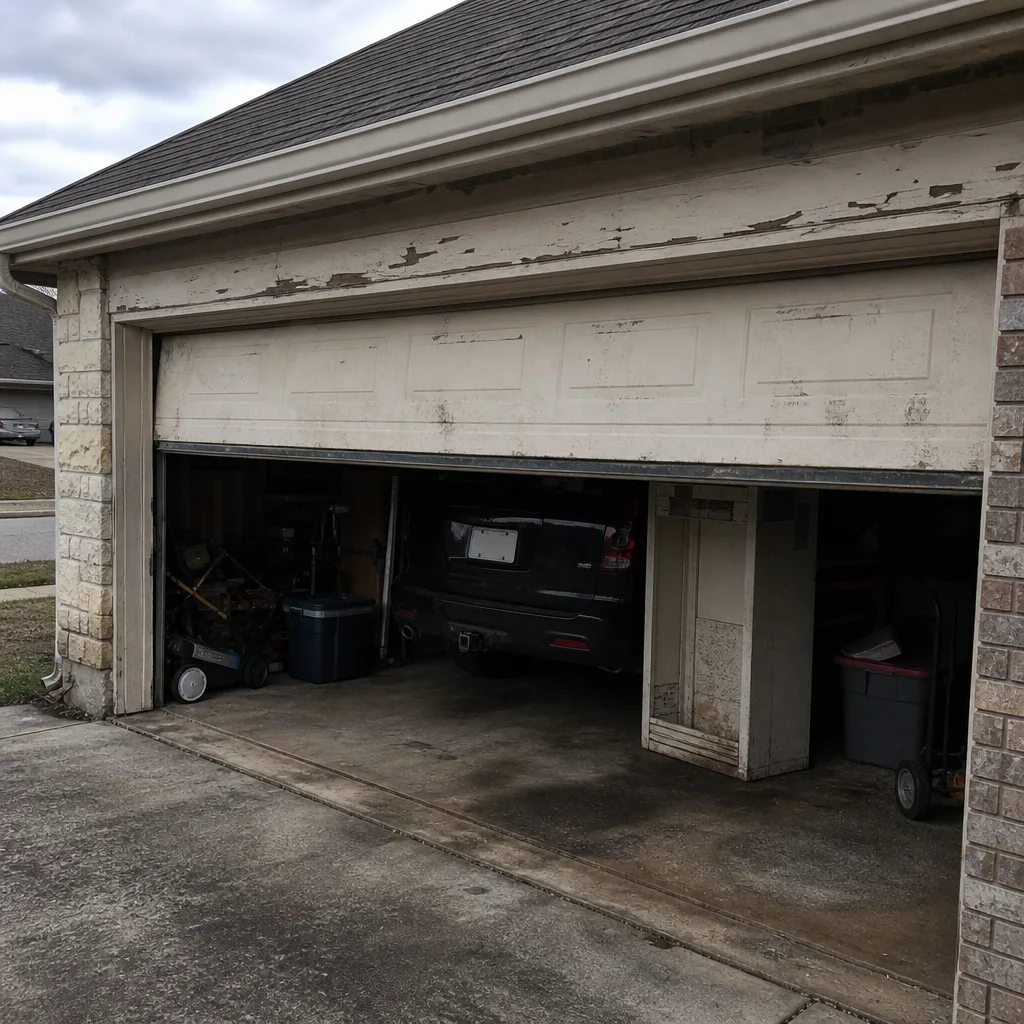 Before
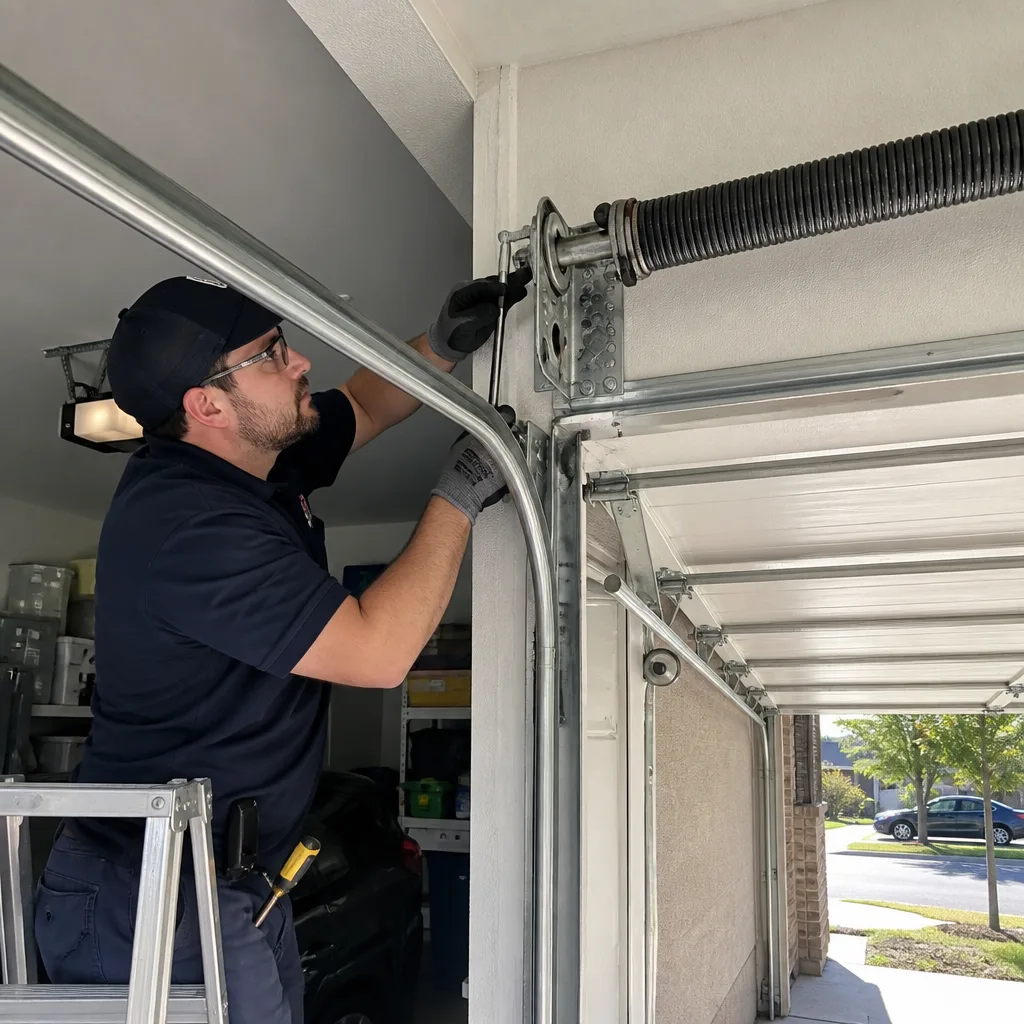 After
After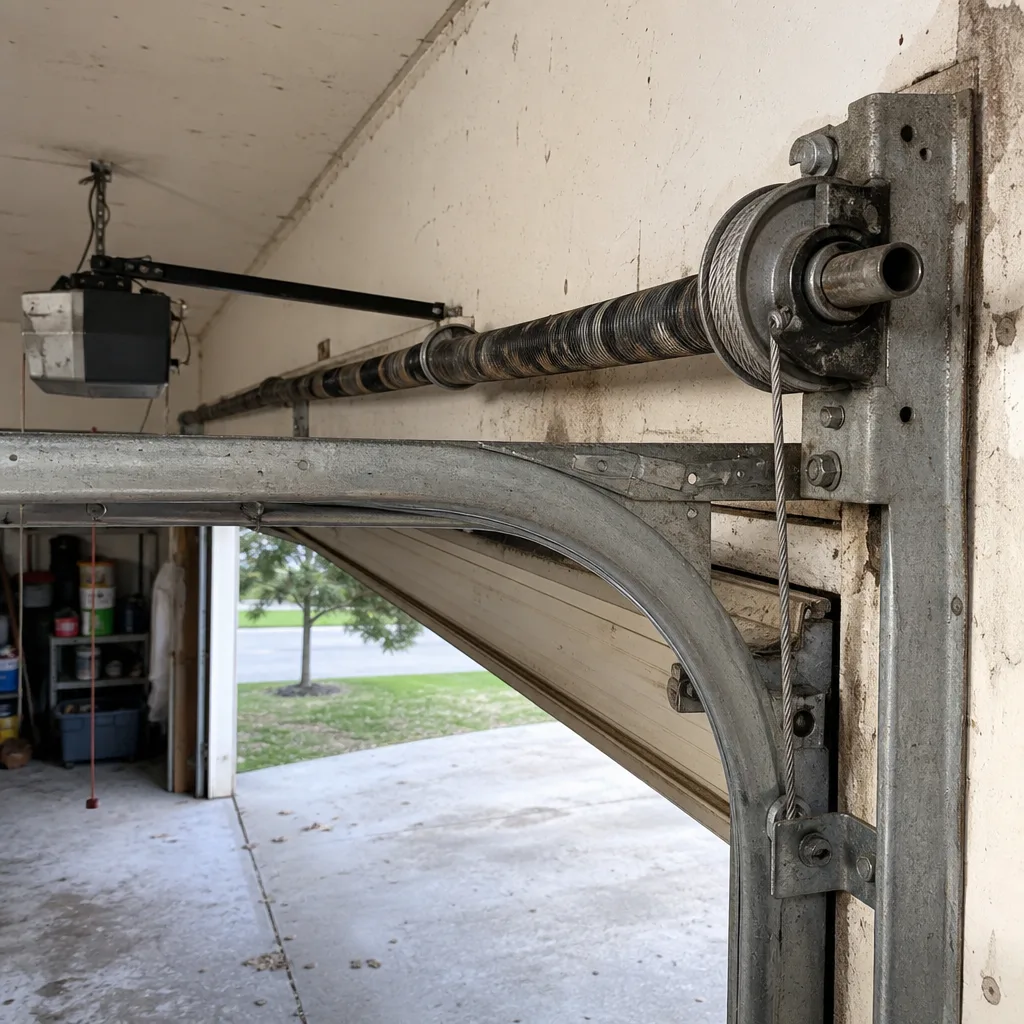 Before
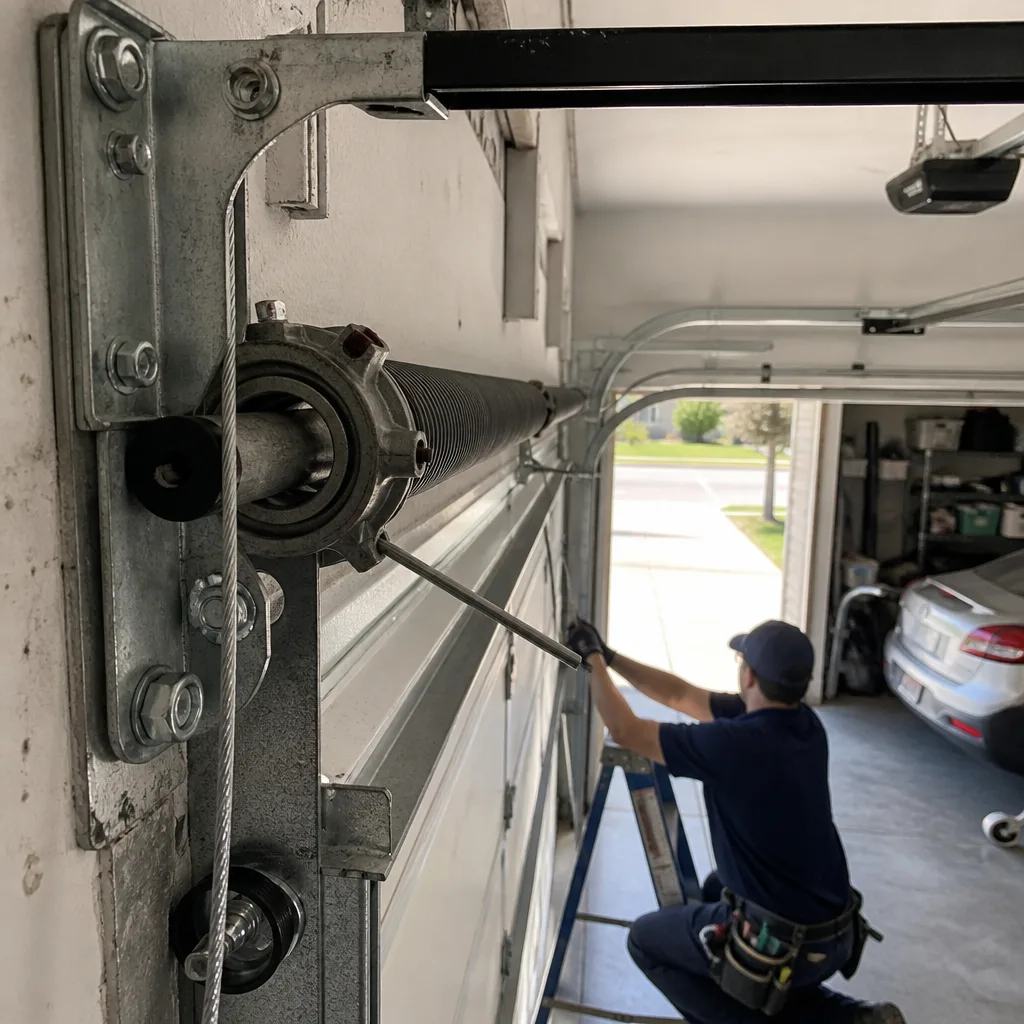 After
AfterDIY vs Professional Garage Door: The Denton Homeowner’s Decision Guide
Replacing a garage door bottom seal is a legitimate DIY task that takes about 45 minutes and costs under $20 in materials. Adjusting torsion spring tension is a task that sends roughly 20,000 people to emergency rooms annually. Both appear on the same “garage door DIY tips” lists without distinction, and that’s the problem. This guide draws the line by component, not by general confidence, because some parts of a garage door store enough mechanical energy to cause serious injury regardless of how competent you are. In Denton, where summer heat bakes seals brittle and spring failures spike in the shoulder seasons, knowing which tasks you can safely do yourself and which ones require a professional isn’t just about saving money. It’s about keeping all your fingers, your weekends, and your home’s largest moving opening actually working.
Quick Answer
Whether DIY garage door repair in Denton makes sense depends entirely on the component. Seals, lubrication, tightening loose hardware, and cosmetic work are safe DIY territory with basic tools and honest labor. Springs, cables, track realignment, opener logic boards, and any task involving stored mechanical energy or line-voltage electrical work belong with a professional. The dividing line isn’t skill. It’s energy storage, electrical risk, code compliance, and warranty preservation.
Table of Contents
- The Mechanical Energy Problem: Why Springs and Cables Are Different
- Component-by-Component Classification: What You Can Touch, What You Shouldn’t
- Real DIY Costs in Denton: Tools, Materials, and What You Actually Save
- What Denton Homeowner’s Insurance Policies Say About Self-Performed Work
- The Three Scenarios Where DIY Increases the Professional Repair Cost
- How to Document DIY Work So a Future Technician Can Trust the System
- Denton-Specific Considerations: Climate, Code, and the Age of Your Door
- Common Mistakes to Avoid
- When to Call a Professional
- Frequently Asked Questions
- The Bottom Line
BeforeAfterThe Mechanical Energy Problem: Why Springs and Cables Are Different
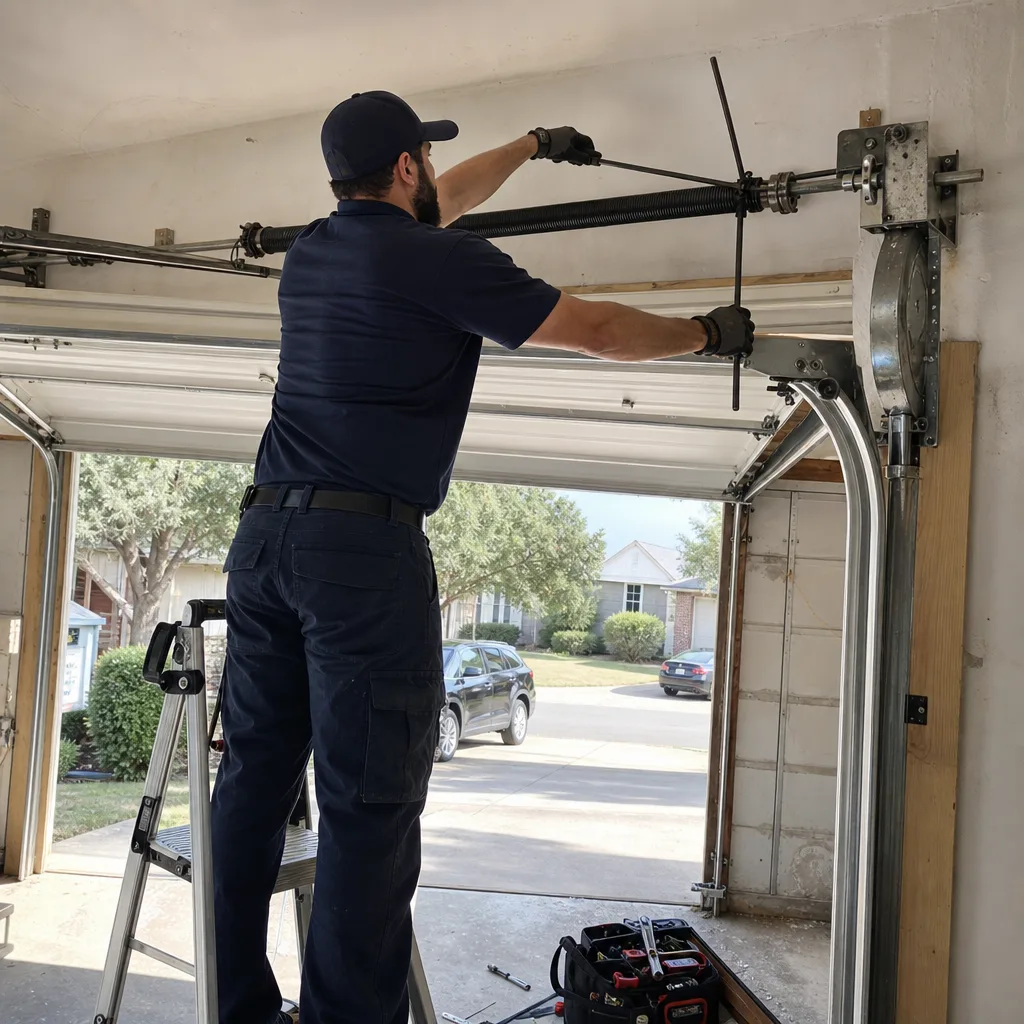
A standard residential garage door weighs between 130 and 400 pounds depending on panel material, insulation, and size. The torsion spring above your door is what makes that weight feel like about 8 to 10 pounds when you lift it manually. To do that job, the spring winds under significant torque pressure. When a torsion spring breaks or unwinds suddenly, it releases all that stored energy in a fraction of a second. The winding bars used to adjust these springs are half-inch steel rods, and they can turn into projectiles if the spring slips.
In our experience across Denton garages, we see two weather patterns that directly affect spring life. The first is the summer heat, which accelerates metal fatigue through thermal expansion cycles. The second is the rapid temperature drop in late fall, when springs that have been quietly degrading all summer finally snap. A spring that has been on the door since a 2015 home purchase in neighborhoods like Robson Ranch or Southridge is often nearing the end of its rated cycle life. The average torsion spring is rated for 10,000 cycles, which translates to roughly 7 to 10 years of normal use for a family that opens the door three to four times daily.
The cables under your garage door are under the same tension as the springs. When a cable frays or snaps, the remaining components absorb the sudden imbalance. If you are standing beneath the door when that happens, the result is not something a first aid kit handles. This is not a statement about anyone’s competence. It is a statement about physics. A properly trained technician does not outsmart the spring. The technician controls the release of energy using purpose-built tools and a sequence that prevents sudden unloading.
Component-by-Component Classification: What You Can Touch, What You Shouldn’t
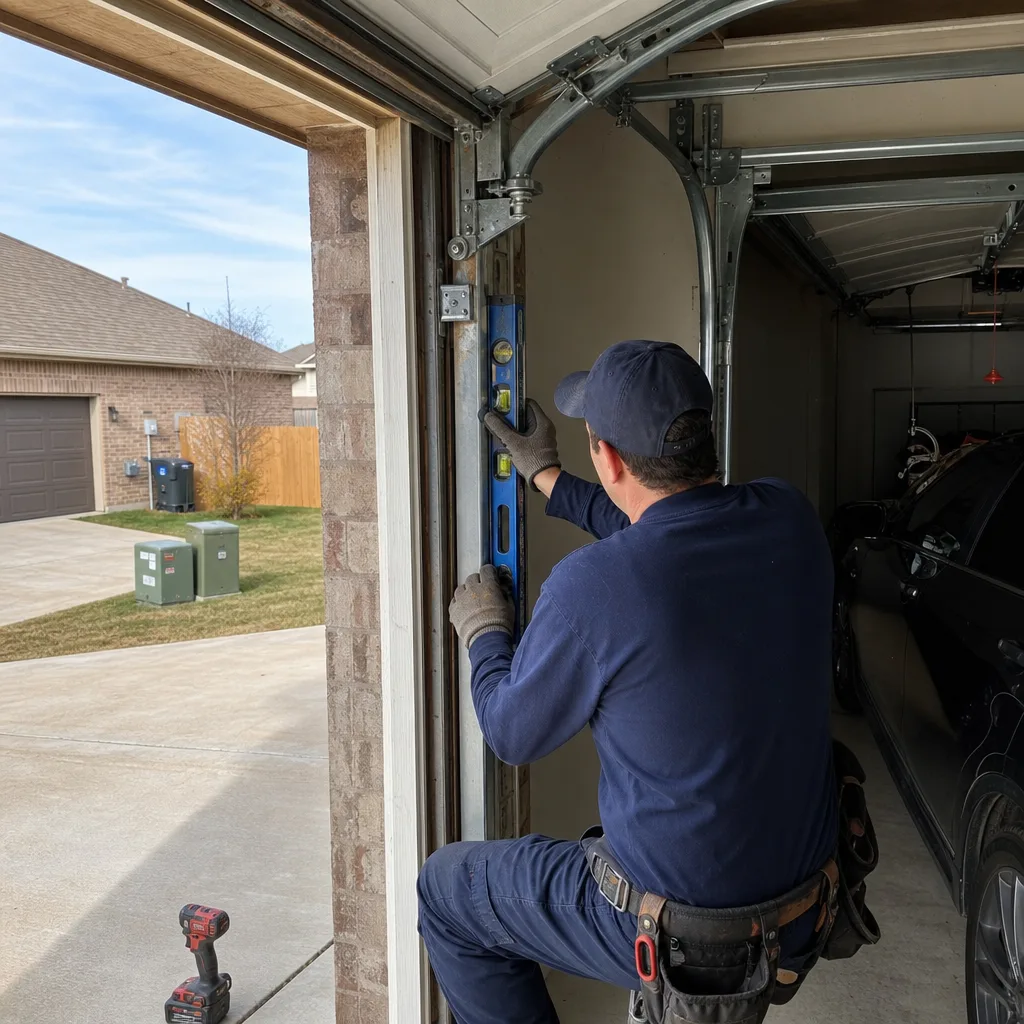
The honest way to approach garage door DIY is to sort components into three categories: safe to service, conditionally safe with the right tools and documentation, and professional-only. Here is the full classification with the specific reason for each designation.
Safe DIY Tasks (No Specialized Training Required)
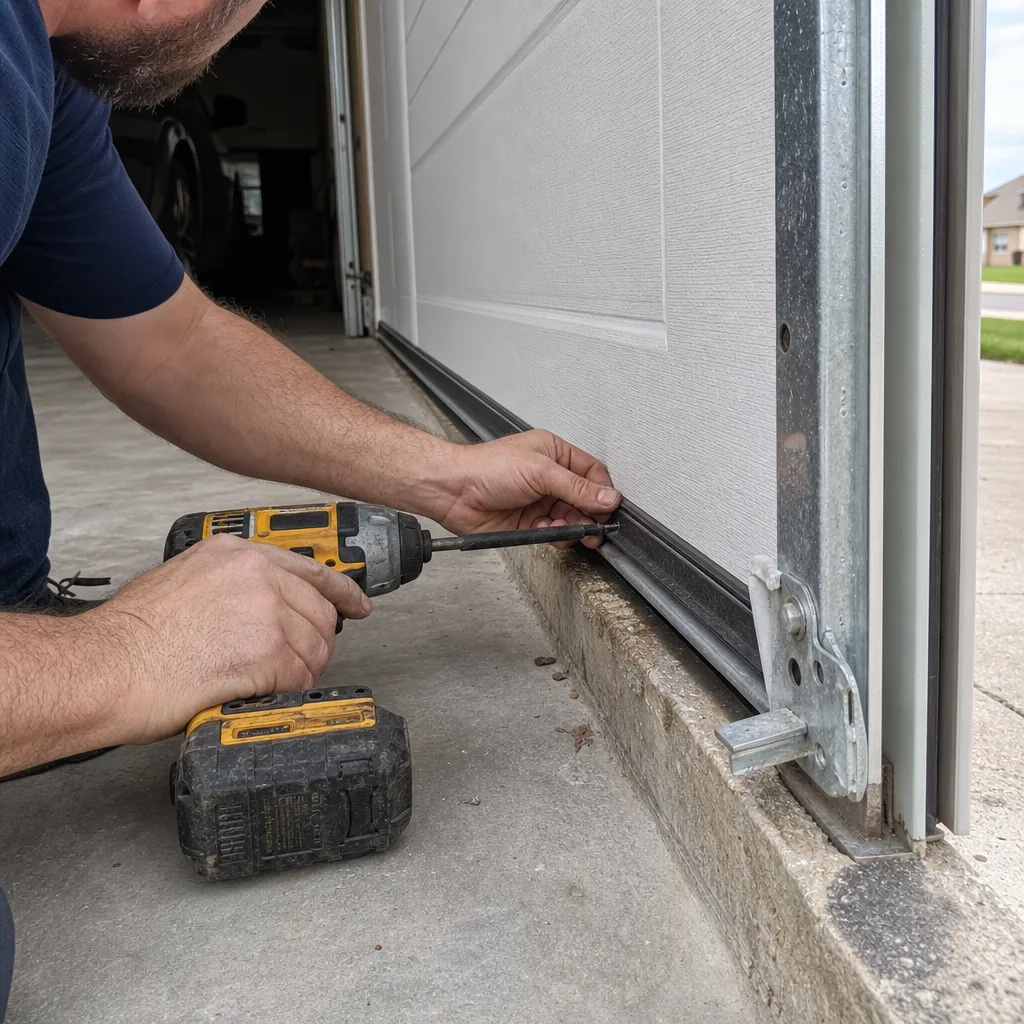
- Bottom seal replacement. The rubber strip along the bottom of the door degrades in Denton’s summer sun. Replacement requires a utility knife, a flathead screwdriver, and about 45 minutes. No stored energy is involved because the door remains in the down position throughout. This is the single best DIY entry point and typically costs $15 to $30 in materials.
- Weather stripping along the side jambs and top. Same logic as the bottom seal. The door stays put, and the work is cosmetic and insulation-related. For homes in Denton where garage temperatures hit 110 degrees in August, replacing cracked perimeter seals noticeably reduces heat infiltration into attached living space.
- Lubrication of rollers, hinges, and the opener chain or belt. Use a lithium-based garage door grease or white lithium spray on the hinges and rollers. Use a light machine oil on the opener rail if it is a chain drive. Do not use WD-40 on rollers or hinges; it is a solvent, not a lubricant, and it strips the existing grease. This is a 20-minute task that should be done twice a year in Denton’s climate.
- Tightening loose bolts and screws. Over time, the vibration of daily cycles loosens hardware. A socket wrench through the door’s hardware points is safe work, provided you do not touch the red-colored bolts on the bottom brackets. Those bolts are connected to the torsion system and carry spring tension.
- Replacing remote batteries and reprogramming remotes. This is straightforward and manufacturer-documented. Chamberlain and Genie both publish programming sequences in their manuals. No mechanical exposure is involved.
Conditionally Safe DIY Tasks (Require Careful Documentation and the Right Tools)
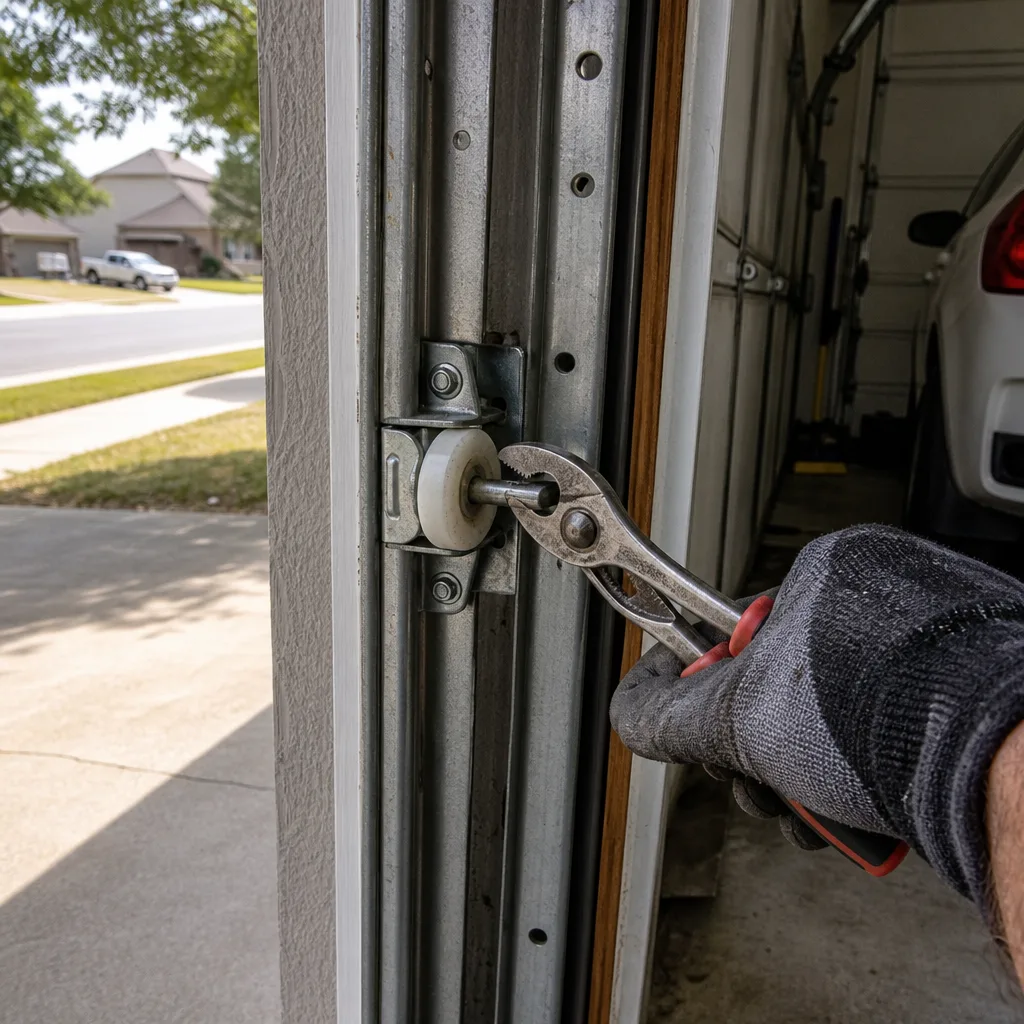
- Replacing rollers outside the bottom bracket. Hinged rollers that are not attached to cables can be replaced by bending the track slightly or unbolting the hinge. The bottom roller on each side is under cable tension and should not be removed without unwinding the spring first. That step moves the task into professional territory.
- Replacing a garage door opener remote receiver or wall button. This is low-voltage wiring work. The opener’s logic board and motor unit operate on 120-volt line current, but the wall controls and sensors are low voltage. If you can identify the low-voltage terminals clearly, this is accessible. If you are unsure which wires are low voltage versus line voltage, stop.
- Adjusting the opener’s travel limits and force settings. Both Chamberlain and Genie openers have adjustment screws or digital menus for travel limits. This controls how far the door moves. Done correctly, it prevents the door from reversing or stopping short. Done incorrectly, it can burn out the opener’s motor. This is conditional DIY: read the manual, mark the original settings, and adjust by small increments.
- Painting a steel door. This is labor-intensive but safe. The key is surface preparation and using an exterior-grade paint compatible with the door material. For Clopay and Amarr steel doors, the manufacturer’s finish warranty typically excludes damage from improper painting. Document the paint type you use, because a future warranty claim would need that record.
Professional-Only Tasks (Do Not Attempt)
- Torsion spring replacement or adjustment. This is the highest-injury task in residential garage door work. The spring is under 100 to 200 pounds of torque when wound. Winding bars can slip, and the spring can unload instantly. This is the one component where no amount of YouTube study substitutes for experience with the specific spring’s cycle rating and wire diameter.
- Extension spring replacement or adjustment. Older doors use extension springs along the horizontal tracks. These springs stretch under load, and when one fails, the safety cable is the only thing that prevents the broken spring from flying across the garage. If the safety cable is missing or deteriorated, the hazard is extreme. Replacement requires matching spring size to door weight exactly.
- Cable replacement or repair. The lift cables are under the same tension as the springs. Replacing a cable means unwinding the spring first. This is a full professional procedure, not a standalone repair.
- Track realignment or replacement. The tracks guide the door through its entire travel path. Misalignment by even a quarter inch causes strain on the opener and premature roller wear. Realigning tracks means loosening the brackets, adjusting position, and re-torquing while the door and spring system are in a controlled state. Improper track adjustment after a spring repair is one of the most common causes of opener damage we see in Denton.
- Opener motor or logic board replacement. This is line-voltage electrical work plus mechanical integration. A faulty logic board can reverse the door at the wrong time, refuse to respond to the safety sensors, or create a fire hazard if there is a short. This is not a plug-and-play component.
- Any work requiring full door removal. Replacing a door panel, converting from extension springs to torsion, or removing the entire door for a structural repair involves the entire tension system and the door’s weight. It is a two-person professional job.
Real DIY Costs in Denton: Tools, Materials, and What You Actually Save
DIY is not automatically cheaper, and the honest comparison starts with the complete cost of each path. Here are the actual numbers for common tasks in the Denton market, based on what we see on service calls and what homeowners report from their own parts purchases.
| Task | DIY Material Cost | DIY Tool Cost | Typical Pro Cost in Denton | Realistic DIY Time |
|---|---|---|---|---|
| Bottom seal replacement | $15-$30 | $0 (utility knife, screwdriver) | $90-$150 | 45-60 min |
| Full lubrication service | $10-$15 | $0 (spray can) | $75-$120 | 20-30 min |
| Roller replacement (non-bottom) | $15-$40 for 10 nylon rollers | $0-$25 (pry bar, pliers) | $120-$180 | 60-90 min |
| Remote replacement | $25-$45 | $0 | $60-$110 | 15 min |
| Travel limit adjustment | $0 | $0 (screwdriver) | $75-$110 | 30-45 min |
| Torsion spring replacement (single) | $60-$120 for spring | $40-$80 for winding bars and hardware | $180-$340 | 1-2 hours, high risk |
| Cable replacement | $20-$40 for cables | $40-$80 for winding bars and hardware | $140-$220 | 1-2 hours, high risk |
| Opener motor replacement | $180-$300 for unit | $0-$50 (basic sockets and a ladder) | $400-$650 installed | 2-4 hours, moderate risk |
The pattern is clear. Tasks that are safe for DIY save you between $60 and $120. That is real money, and if you already own the basic tools, the savings math works. But the moment you step into spring and cable territory, the DIY savings shrink because you are buying specialized tools you will use once, and you are taking on a risk profile that no amount of parts savings justifies. The $180 to $340 professional spring replacement in Denton is not just paying for the spring. It is paying for the controlled release of stored energy, the measurement of wire diameter against door weight, and the correct cycle count matching.
What Denton Homeowner’s Insurance Policies Say About Self-Performed Work
Most Denton homeowners discover their policy’s stance on self-performed garage door work only after something goes wrong. That is the wrong time to learn. Here is what standard Texas homeowner’s insurance policies typically include, and what they exclude, when the work is done by the policyholder.
Standard HO-3 policies in Texas cover sudden and accidental property damage to the dwelling, including the garage, under the dwelling coverage section. If your garage door collapses or a spring failure causes panel damage, the repair is generally covered, minus your deductible. The same applies to damage caused by a professional contractor’s error, subject to the contractor’s own liability coverage as the primary payer.
The exclusion that matters for DIY work is the faulty workmanship exclusion. If you replace a component yourself, and that component later fails and causes additional damage, the insurer may deny the secondary damage claim on the grounds that the originating failure was caused by improper installation or inadequate repair. The language varies by carrier, but the principle is consistent: the policy is not a warranty on your work. If a self-replaced cable snaps and damages the door panel and your vehicle, the vehicle claim might be covered under your auto policy, but the door damage may be denied because it resulted from faulty workmanship on your part.
There is also a liability exposure. If you perform DIY work and that work later causes injury to a family member or a future owner, your personal liability coverage may not respond if the insurer determines the injury resulted from negligent maintenance. Professional repair companies in Texas carry their own general liability coverage, which shifts that exposure away from your policy. Before you attempt any garage door DIY work that involves tension components, check your policy’s exclusions section or call your agent and ask specifically about self-performed garage door repairs and faulty workmanship exclusions. Five minutes on the phone beats a denied claim.
The Three Scenarios Where DIY Increases the Professional Repair Cost
There is a category of DIY garage door work we see regularly in Denton that ends up costing more than if the homeowner had called a professional first. These are not cases of incompetence. They are cases of incomplete information about how the door’s systems interact. Here are the three most common scenarios, with the mechanism of damage and the typical additional cost.
- Stripped hardware from using the wrong fasteners or over-torquing. When homeowners replace hinges, brackets, or struts, the natural impulse is to tighten everything firmly. Garage door hardware has specific torque ranges. Over-tightening strips the threads in the door’s stile or in the attached bracket. Once the threads are stripped, the panel cannot hold the hardware properly, and the repair requires either a heli-coil insert or panel replacement. A stripped hinge mount on a Clopay steel door often means a $300 to $500 panel replacement that started as a $20 hinge. The lesson: if you are tightening hardware, snug is enough. If you feel the bolt stop, you are done.
- Misaligned tracks from incorrect spring tension. This is the cascade failure. A homeowner attempts to adjust the torsion spring, gets the tension wrong, and the door starts running unevenly. The uneven travel wears the rollers, bends the track brackets, and eventually puts lateral stress on the opener’s carriage. By the time we see the door, the spring has to be unwound and rewound correctly, the track brackets need to be repositioned, and the rollers are shot. A professional spring adjustment in Denton costs $75 to $150. The cascade repair runs $300 to $500. The original problem was a $75 fix.
- Opener damage from door imbalance. If the door is not balanced correctly after any DIY work on the springs, cables, or even a panel replacement, the opener has to work harder on every cycle to move the unbalanced weight. The opener’s motor has a thermal overload that will trip if it works too hard, but before that happens, the gear and sprocket assembly wears rapidly. A door that is 20 pounds out of balance can shorten an opener’s life from 10 years to 3. Replacing a stripped gear and sprocket on a Chamberlain belt-drive opener costs $150 to $250 in labor plus parts. The imbalance that caused it was invisible to the homeowner but obvious to a technician with a spring scale. The lesson here is specific: after any DIY work on the door’s moving parts, test the balance by disconnecting the opener and lifting the door manually to the halfway point. If it does not stay put, the door is out of balance, and the opener is paying the price on every cycle.
How to Document DIY Work So a Future Technician Can Trust the System
If you do perform DIY work on your garage door, the documentation you leave behind matters more than the work itself. A future technician who walks up to a door with unknown repair history has to assume the worst about every component. A future homebuyer who sees a garage door with no records has to price in the uncertainty. Here is the documentation standard we recommend, based on what we wish every Denton homeowner would keep.
- Photograph the component before you touch it. Take clear photos of the brand name, the model number, the wire diameter if visible, and the date code on the spring or opener. These photos tell a future technician what was originally on the door and whether it matches what is there now.
- Write down the part number of what you installed. If you replace rollers, write down the roller diameter and stem length. If you replace a seal, note the brand and the profile shape. If you replace a remote, note the model number. This is the paint-type logic applied to garage doors: the next person who works on the door should not have to reverse-engineer what you did.
- Record torque settings for any hardware you tightened or replaced. If you replaced hinges or brackets, note the fastener size and the torque value you used if you used a torque wrench. If you used a hand wrench, note how many turns past snug. This matters because the next technician needs to know whether the hardware was under- or over-tightened before touching it.
- Note the date of the work and the cycle count if known. If you replaced springs, write down the spring’s cycle rating and the date. This tells a future technician roughly how much life is left and whether the springs match the door’s weight. If you bought a door from a previous owner and have no records, assume the springs are mid-life and budget accordingly.
- Keep the manufacturer manual for the opener and any replacement parts. The manual contains the torque specs, the programming sequence, and the adjustment ranges. A paper trail is the difference between a 20-minute diagnosis and a 90-minute investigation.
In Denton, where homes built since 2015 are changing hands regularly, this documentation matters for resale. A buyer who sees a garage door with clear records knows the system has been maintained. A buyer who sees an unknown door with a recently installed spring and no paper trail has to assume the work was not done correctly. The documentation costs you nothing and protects the largest mechanical system in your house.
Denton-Specific Considerations: Climate, Code, and the Age of Your Door
Denton’s climate treats garage doors harshly, and the local housing stock has specific characteristics that affect the DIY-versus-professional decision. Understanding these factors makes the difference between a fix that lasts and a fix that fails next season.
The Summer Heat Cycle
Denton regularly sees 30 to 40 days above 100 degrees in July and August. That heat does two things to a garage door system. First, the metal components expand during the day and contract at night. Over hundreds of thermal cycles, this expansion and contraction fatigues spring steel. A spring that has been on a Denton door for 8 or 9 years is often riding close to the end of its cycle life, and the fatigue fractures have already started. Second, the rubber and vinyl components degrade faster. Bottom seals, perimeter weather stripping, and roller coatings all break down under sustained UV exposure and heat. A seal that would last 5 years in a coastal climate might last 3 in Denton. This is why seal replacement is a recurring, legitimate DIY task for Denton homeowners, and why we recommend inspecting the seal every spring before the heat arrives.
The Cold Snap Problem
When Denton’s temperature drops quickly in November and December, springs that have been quietly degrading all summer reach their breaking point. The metal contracts, the micro-cracks propagate, and the spring snaps. This is why the highest-volume weeks for Garage Door Repair in Denton are the first cold snap of the season. If your door has been making a creaking or popping sound when opening or closing, that is the spring telling you it is nearing failure. A professional inspection before the cold snap is cheaper than an emergency repair during it.
Code and Permit Requirements
The City of Denton requires a building permit for any garage door replacement that changes the structural opening or involves electrical work on the opener circuit. Replacing a garage door with the same size and configuration does not typically require a permit, but replacing an opener that requires new wiring or involves changes to the electrical circuit may require one. The City of Denton also has a wind load requirement for garage doors, reflecting the North Texas tornado and straight-line wind risk. Doors installed in Denton must meet a design wind speed rating that accounts for the local wind zone. If you are replacing a door yourself, you need to verify the door is rated for the Denton wind zone. A professional installation includes this verification as part of the written scope, which is why Garage Door Installation in Denton is not just a bolt-on job. It is a code compliance exercise.
The 2015+ Build Stock
Homes in Denton’s newer developments, including areas built since 2015 in neighborhoods like Creekside, Harvest, and Pecan Square, mostly came with builder-grade doors and entry-level openers. These are functional doors with lower cycle ratings and thinner panel steel. As these systems age out of their original components between years 8 and 10, homeowners in these neighborhoods face a choice: repair the builder-grade parts or upgrade. That choice is not a DIY-versus-professional question. It is a budget allocation question, and the professional’s role is to quote both paths with written prices so the homeowner can decide with real numbers. For more on the replacement versus repair comparison, Garage Door Repair in Denton covers the decision framework in detail.
Common Mistakes to Avoid
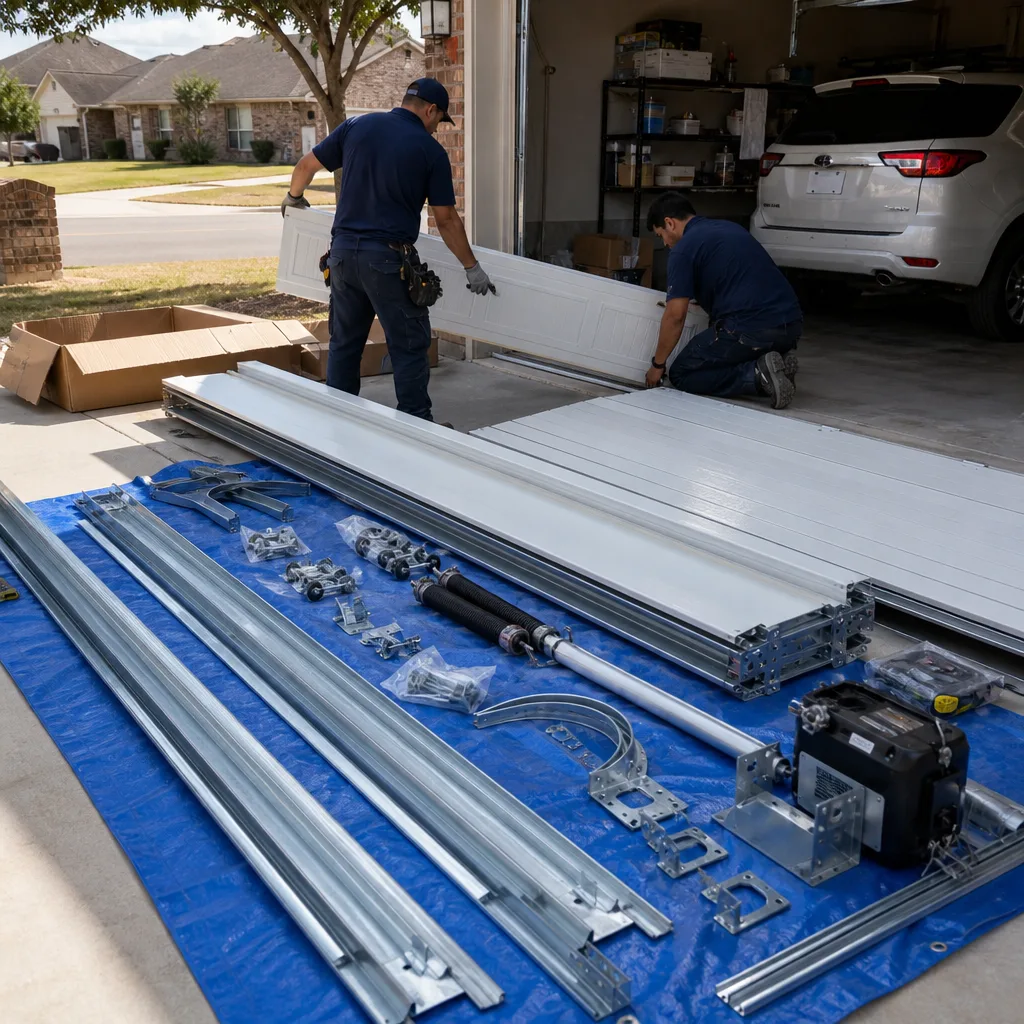
- Thinking all “garage door DIY” lists are created by people who have actually done the work. Most are content farms recycling generic advice. The tell is the absence of specific measurements, torque values, or part numbers. If the article does not name a wire diameter or a roller stem length, the author has never held a winding bar.
- Using WD-40 on rollers and hinges. WD-40 is a penetrating solvent, not a lubricant. It strips the existing grease and leaves the metal more vulnerable to Denton’s temperature swings. Use lithium grease on metal-to-metal contact points and a silicone-based lubricant on rubber or nylon.
- Tightening hardware without knowing the torque spec. Over-tightening strips threads. Under-tightening leaves the hardware vulnerable to vibration backing. If you do not know the spec, snug plus a quarter turn is the safer default.
- Replacing the opener before checking the door’s balance. A door that is out of balance kills openers. If your opener is struggling, disconnecting it and testing the door’s balance manually is the diagnostic step before the purchase. Replacing the opener without fixing the balance just burns out the next opener.
- Disconnecting the safety sensors. The photo-eye sensors on either side of the door are a federal safety requirement under UL 325. Disconnecting them because they are misaligned is not a fix. It is a liability. Realign them or replace them, but never bypass them.
- Attempting spring or cable work “just to see if it needs it.” Springs do not need inspection by adjustment. If the door is balanced, leave the spring alone. If it is not balanced, call a professional. There is no middle ground where a homeowner safely tests spring tension by feel.
- Buying parts without matching the door’s weight and size. A spring that fits does not mean it is rated for your door. Springs are specified by wire diameter, inside diameter, length, and cycle rating. A mismatched spring either fails early or does not open the door at all. The same applies to rollers: stem length and diameter must match the track and hinge bore exactly.
When to Call a Professional
A professional is the right call when the work involves stored mechanical energy, line voltage, structural changes, or code compliance. Specifically: broken or aged springs, frayed or broken cables, bent or misaligned tracks, opener motor or logic board failures, full door replacement, and any repair where the door does not move smoothly after you attempt the basic fixes. If you have already attempted a repair and the door is worse than it was, that is also a professional call. The earlier a technician sees the problem, the less the cascade repair costs. Servo Garage Doors Denton offers free estimates on repair and replacement work, written in advance, with the price agreed before any work starts. For opener-specific issues, Garage Door Opener Repair & Installation in Denton covers diagnostics in detail. Call (940) 398-6880 to book an inspection.
Frequently Asked Questions
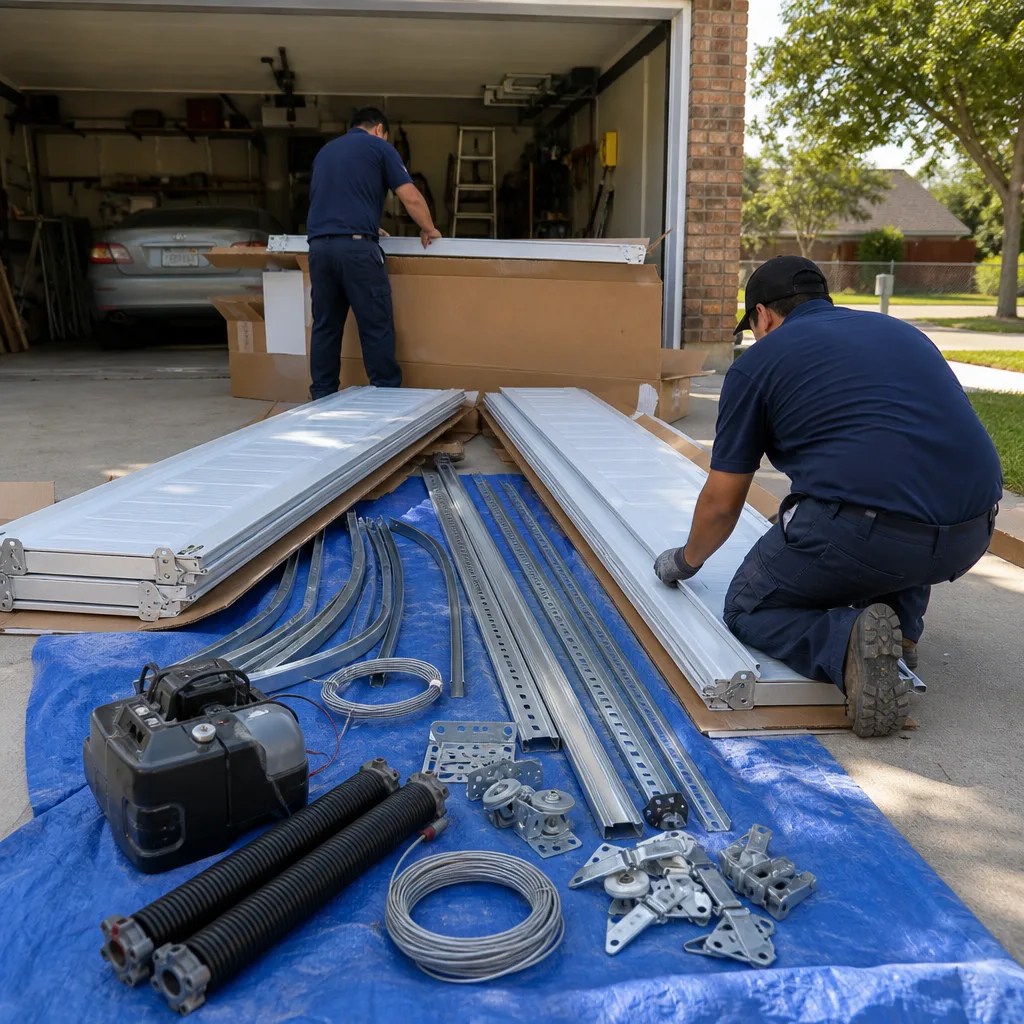
No. Torsion springs store 100 to 200 pounds of torque, and the winding bars used to adjust them become projectiles if the spring slips. Extension springs require safety cables and exact weight matching. This is the one garage door task where the injury risk is not mitigated by caution or competence. In Denton, professional torsion spring replacement typically costs $180 to $340 and is completed in a single visit. Call (940) 398-6880 for a written quote before any work starts.
For the safe DIY tasks like seal replacement, lubrication, and remote programming, the savings are $60 to $120 per task compared to professional rates in Denton. That is real savings if you already own basic tools. For spring and cable work, the DIY savings shrink to $100 to $200 because you must buy specialized winding bars you will use once, and the risk profile makes those savings a poor trade. The full cost comparison table above breaks down the math by component.
Generally no for the secondary damage. Standard Texas HO-3 policies exclude damage resulting from faulty workmanship, including self-performed repairs that later fail. The primary repair might be covered as sudden and accidental damage, but the subsequent damage caused by the improper repair may be denied. Check your specific policy’s exclusions before attempting any tension-related work. When a professional performs the repair, their liability coverage shifts the exposure off your policy.
The mechanical installation is accessible if you can handle basic wiring and a ladder, but the electrical portion involves line voltage. The City of Denton may require a permit for opener replacement if new wiring is involved. If the door is not properly balanced after the opener is installed, the new opener’s motor will wear prematurely. For a written quote on opener replacement that includes balancing, Garage Door Opener Repair & Installation in Denton covers the full scope. Call (940) 398-6880 for pricing.
The three most expensive DIY mistakes in Denton are stripped hardware from over-torquing, misaligned tracks from incorrect spring tension, and opener damage from running an unbalanced door. Each of these converts a $75 to $150 repair into a $300 to $500 cascade. The prevention is simple: if the work involves the spring, the cable, or the track, the risk-adjusted cost of DIY exceeds the professional quote.
The test is simple. If the work can be done with the door in the down position, with no tension on the cables, it is likely safe DIY. If the work requires the door to be up, the spring to be adjusted, or the cable to be touched, it is professional territory. The component classification section above provides the full list. When in doubt, call a professional for a written assessment. Servo Garage Doors Denton provides free estimates, quoted transparently before any work begins.
The Bottom Line
The DIY-versus-professional decision for garage doors in Denton is not about how handy you are. It is about which components you are touching and what happens if that component fails. Seals, lubrication, batteries, and cosmetic work are genuine DIY territory that saves real money without meaningful risk. Springs, cables, tracks, and opener motors are professional territory because they store mechanical energy, carry line voltage, or affect code compliance. The smartest DIY you can do is not the repair itself. It is the documentation and the pre-purchase understanding of what your policy covers, what your time is worth, and what the professional quote actually includes. For more on the full scope of garage door work where a professional makes financial sense, start with our Servo Garage Doors Denton home page or the detailed Garage Door Repair in Denton guide.
Written by Marcus Deller, Owner at Servo Garage Doors Denton, serving Denton since 2015.